Add catchy ribbons to your products with noptech's Magic Ribbons plugin for much more attention to your products.
Creating a ribbon
To create a ribbon navigate to Plugins => Noptech => MagicRibbons => Manage Magic Ribbons and click Add new button.
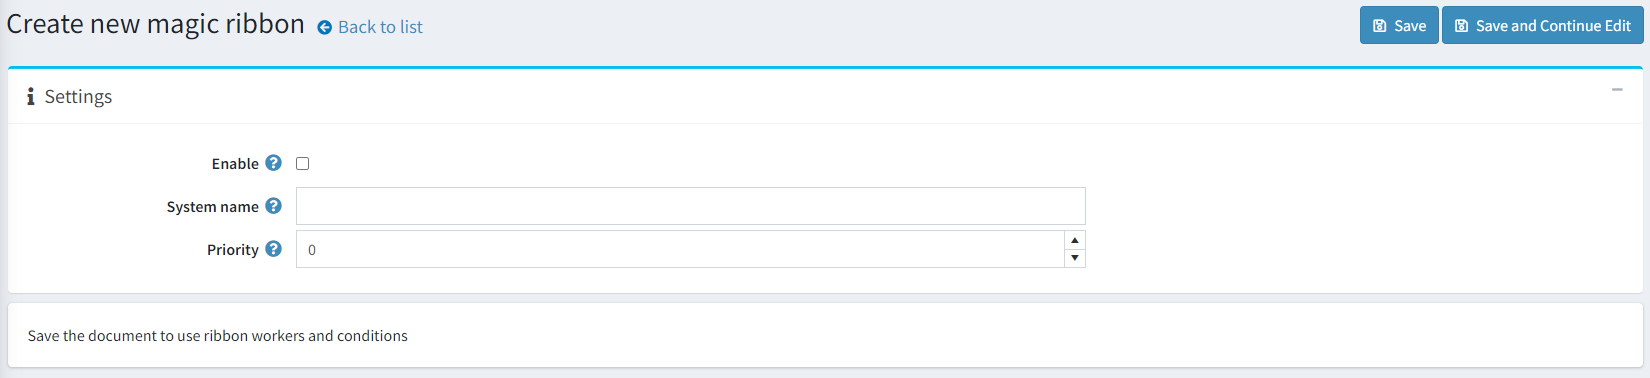
- Enable: Enables/Disables the ribbon.
- System name: System name of the ribbon.
- Priority: Order priority of the ribbon (used for sorting).
Note!
Click Save and continue in order to use Conditions and Ribbon workers.
Creating a ribbon worker
After your ribbon is saved, you will see additional window called Magic ribbon workers with your workers. To create new one click on Add new button.

Settings
- Enable: Enables/Disables the ribbon worker.
-
Display zone: The display zone where the ribbon will be active.
- Catalog list: The place where you look at many products at the same time (e.g. in category page).
- Product details: At the product details page.
- Position: The position of the ribbon on the product's picture (e.g. "top-right", "top-middle", "bottom-middle" and many more).
Magic ribbon settings
-
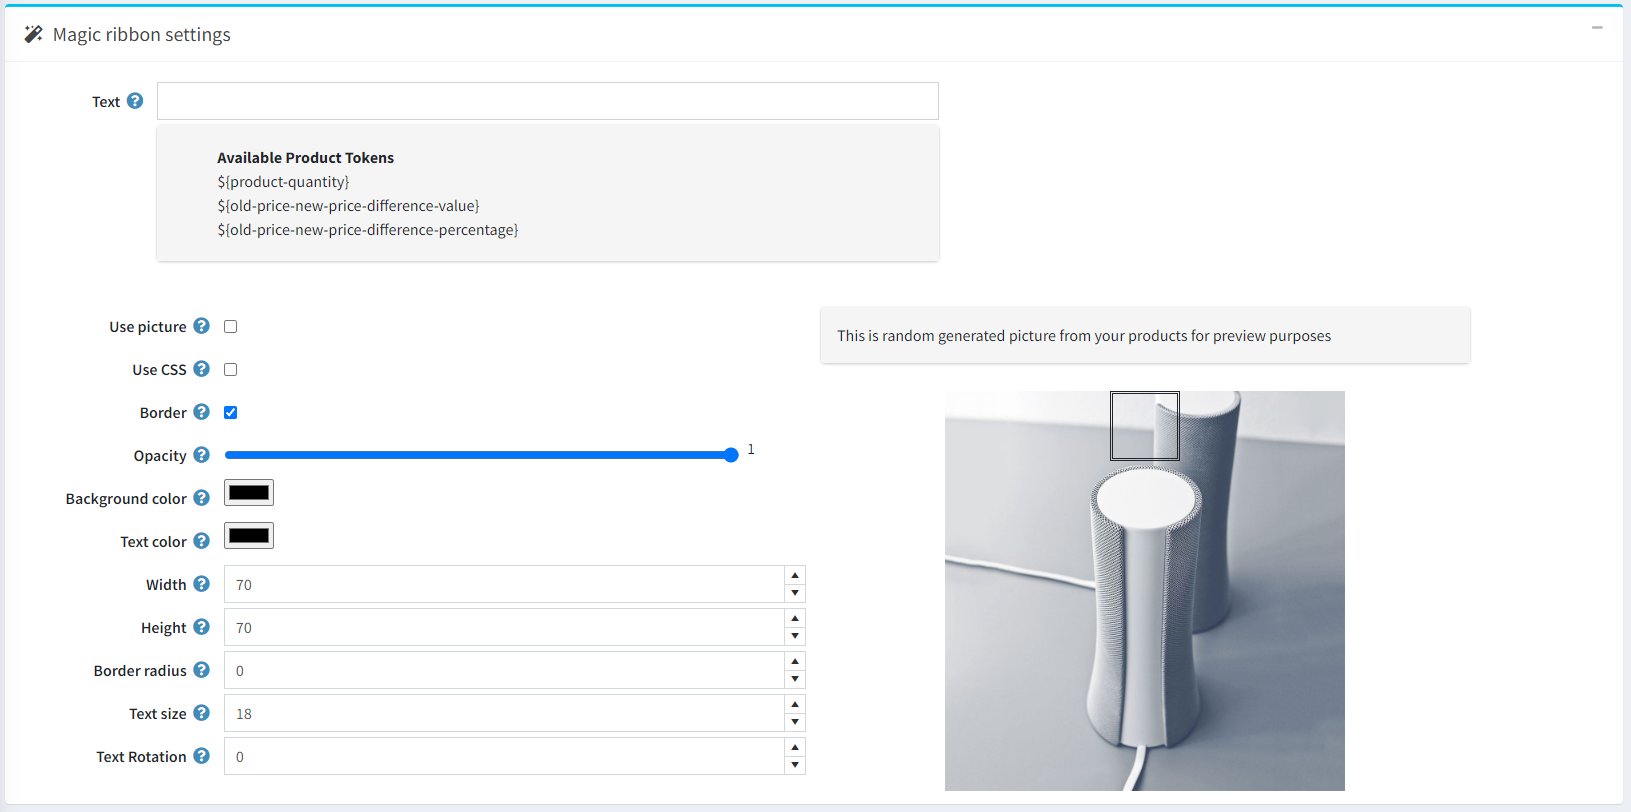
Text: Text of the ribbon on the image.
Available product tokens will be automatically replaced with their values for the product, on which the ribbon will be shown.
- ${product-quantity} - The quantity of the product.
- ${old-price-new-price-difference-value} - The difference between the old price and the new price.
- ${old-price-new-price-difference-percentage} - The difference between the old price and the new price (in percentage).
-
Use picture: Wheter you want to use picture as a ribbon or custom one.
Note!
In order to upload a picture, the document should be saved, so the plugin could associate the picture with the current ribbon worker.
- Use CSS:Check, if you want to use your css instead of the fields that will help you do that.
- Border:Inserts border 1px solid on the ribbon.
- Opacity:Specify how much opacity you want to use on the ribbon.
- Background color:Background color of the ribbon.
- Text color:Text color of the ribbon.
- Width:Controls the width of the ribbon.
- Height:Controls the height of the ribbon.
- Border radius:Controls the border radius of the ribbon.
- Text size:The size of the text on the ribbon.
- Text rotation:Text rotation of the ribbon.
Tip!
The picture on the right is for preview purposes. You can see how the ribbon would look like on your products.
Manage ribbon pictures
To upload a ready ribbon picture go to Plugins => Noptech => Magic ribbons => Magic ribbon pictures.

Here you can upload a picture and click Save. After that the picture will be available if you want to use it from the ribbon worker.